
 Guatemala
  México
  Perú
Perú  Costa Rica
  USA
USA How to Size Your First Greenhouse
Almost everyone sizes a first greenhouse from their budget and works backward. That is the wrong direction, and it builds a structure you outgrow in year two.
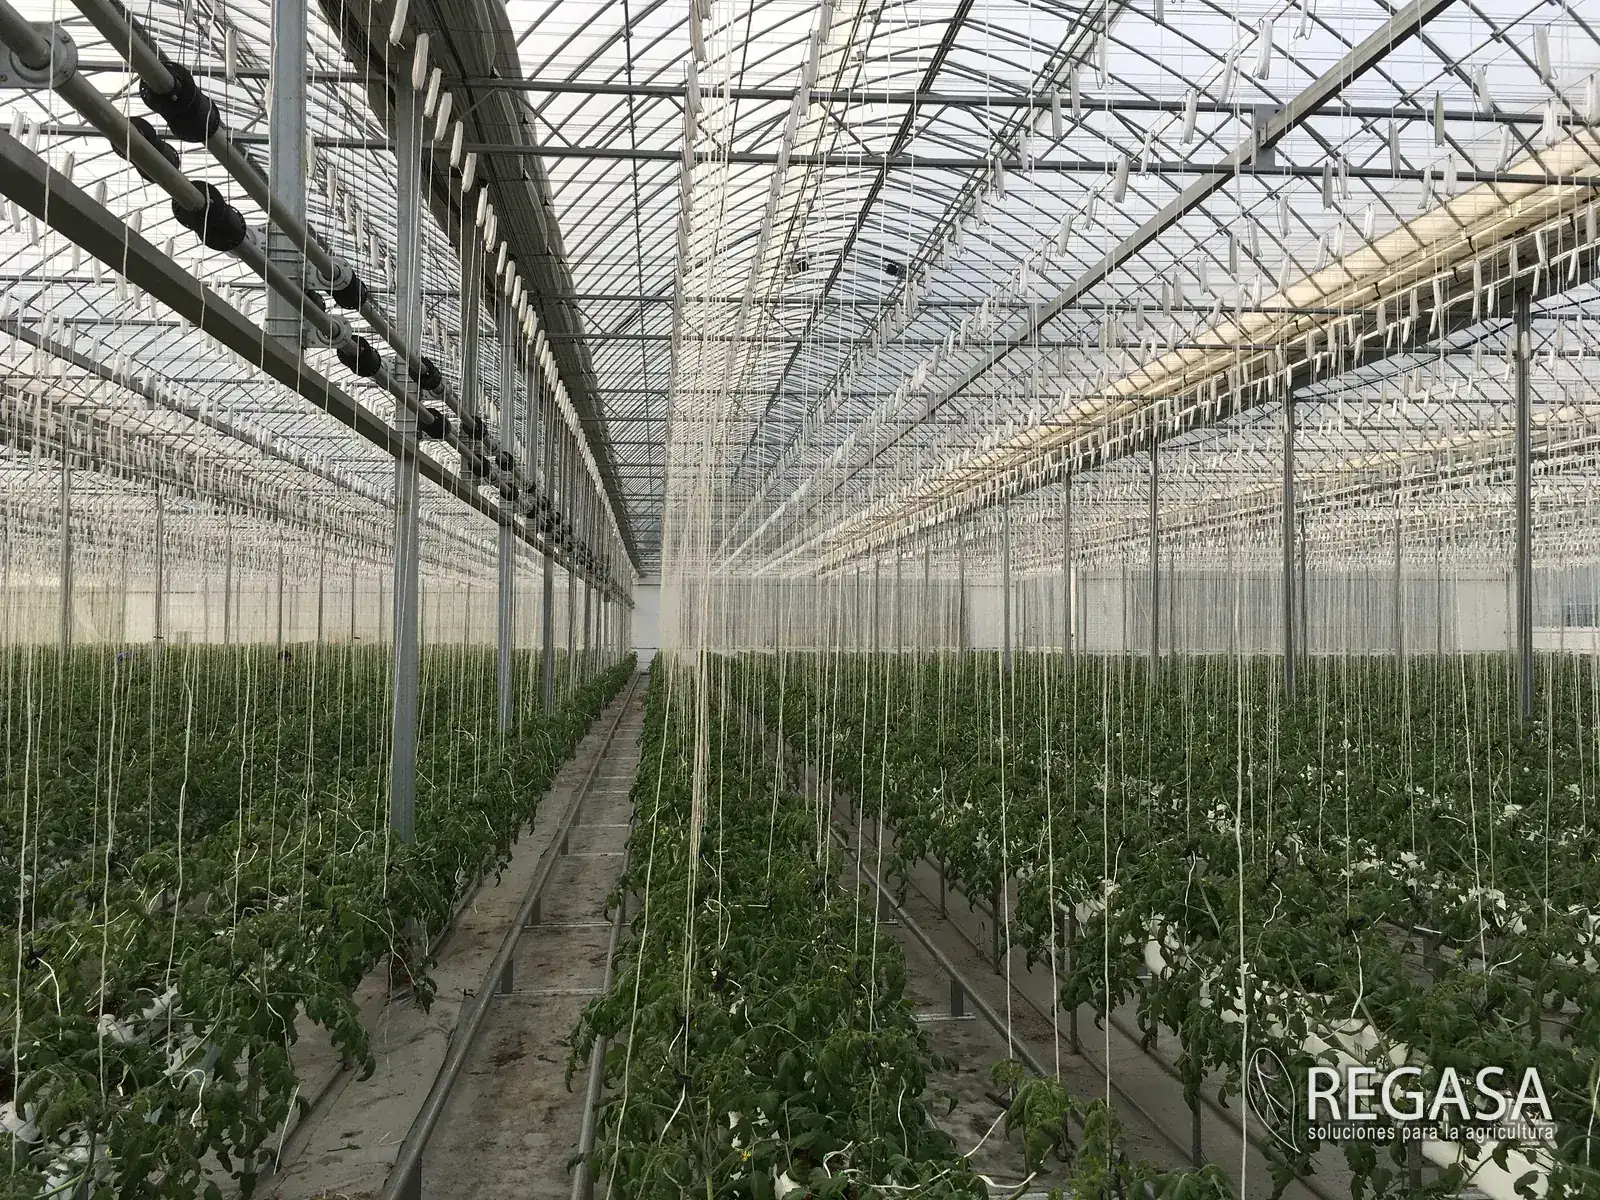
Almost everyone sizes a first greenhouse from their budget. You decide what you can spend, and you buy whatever that amount of money covers.
That is backwards, and it produces the same two outcomes every time: a structure too small to be economic, or a structure you outgrow in year two and cannot extend because it was never designed to be extended.
Here is the order that actually works.
Start from the market, not the money
The first question is not how much you can spend. It is how much can you sell.
Not what you could grow. What you can move, at a price that works, week after week, without dumping product because it all came ready at once.
Write down the real number. A restaurant account that takes 40 pounds a week is 40 pounds a week, not “restaurants.” A farmers market stall has a ceiling and you probably know it. A wholesale buyer will tell you the volume they want and the consistency they require, and the consistency is usually the harder part.
That number is your ceiling. Building past it means growing product you will not sell.
Then work back to area
Once you know the weekly volume, the crop tells you the area.
Every crop has a yield range per square foot and a cycle length. Your extension service publishes these for your state, and they are more reliable than anything a supplier will hand you.
Divide the volume you can sell by the yield you can reasonably expect, and you have a rough square footage. Round it up, not down, because first-year yields are lower than the published range while you learn the system.
This is also where you find out whether the plan works at all. If the arithmetic says you need a quarter acre under cover to serve a market that only wants 40 pounds a week, the problem is the market, not the greenhouse.
Add the space that does not grow anything
Here is where first-time buyers lose the most usable area.
A greenhouse needs aisles wide enough to work and to move a cart. It needs a headhouse or at least a bench for grading and packing. It needs somewhere for the irrigation manifold, the controller and the fertilizer tanks. It needs a door you can actually get equipment through.
Plan on losing a meaningful share of your footprint to things that are not crop. Growers who skip this end up packing on the ground between rows, which slows everything down and costs more in labor than the extra space would have cost in structure.
Now check the number against your climate
Your area figure is a growing-area figure. Your climate decides what structure delivers it.
A short season with real snow load means a taller, stronger frame and probably heating, which changes both the structure and the operating cost. A hot climate means the ventilation has to be sized properly or the crop cooks in July, and evaporative cooling only works where the humidity is low.
This is why two growers with identical area needs in different states end up with different structures. The area is the same. What holds the climate is not.
Each state page on this site covers the frost-free window and the main climate constraint. See greenhouse guidance for all 50 states.
Then decide how you will grow
This is the step most people take first, and it belongs here.
One structure, sized right. Simplest to build and run. The ceiling is the ceiling.
One structure designed to be extended. A single-span house you can add length to, or a gutter-connected system you can add bays to. Costs a little more to plan properly and saves a great deal later. See the Hybrid R multi-bay tunnel.
Several small structures. More perimeter, more heat loss, more doors to manage, but you can stage the investment and you can run different crops in different climates.
The right answer depends on how confident you are in the market number from step one. Confident, build once. Unsure, build extendable.
The size mistakes that cost the most
Too small to be economic. Below a certain area the fixed costs, your time, the irrigation system, the controller, the trips out to check it, are spread across too little production to justify themselves. A very small structure can be a fine place to learn and a poor place to earn.
Too big for the market. Growing what you cannot sell is worse than not growing it, because you paid for the inputs.
Too big for the labor. A structure you cannot keep up with in peak season produces less than a smaller one you manage well. Be honest about who is doing the work.
Not extendable. The cheapest square foot you will ever buy is the one you add to an existing structure that was designed to accept it. The most expensive is the second standalone greenhouse you build because the first one could not grow.
A shortcut worth taking
If the sizing arithmetic feels like guesswork, it usually means the market number is soft. That is worth finding out now rather than after the concrete is poured.
Start with a high tunnel. It is the lowest-capital way to find out whether you can actually sell what you can grow, it may qualify for the USDA NRCS High Tunnel Initiative, and the knowledge transfers directly to the bigger structure afterward.
We covered what NRCS does and does not fund in what NRCS will not pay for.
Where to go from here
Site preparation is the next decision and it happens earlier than most people expect. See what to do before the structure arrives.
If you want the sizing checked against your actual crop and county, the greenhouse project form takes five steps and an advisor works it out from there.
What we build
The products behind this article
Want this sized for your farm?
Tell us your crop, your acreage and your state. An advisor comes back with the structure that fits your climate, within one business day. No obligation.
Keep reading